How to build a scalable, reliable, and secure chat application to upgrade your gaming experience
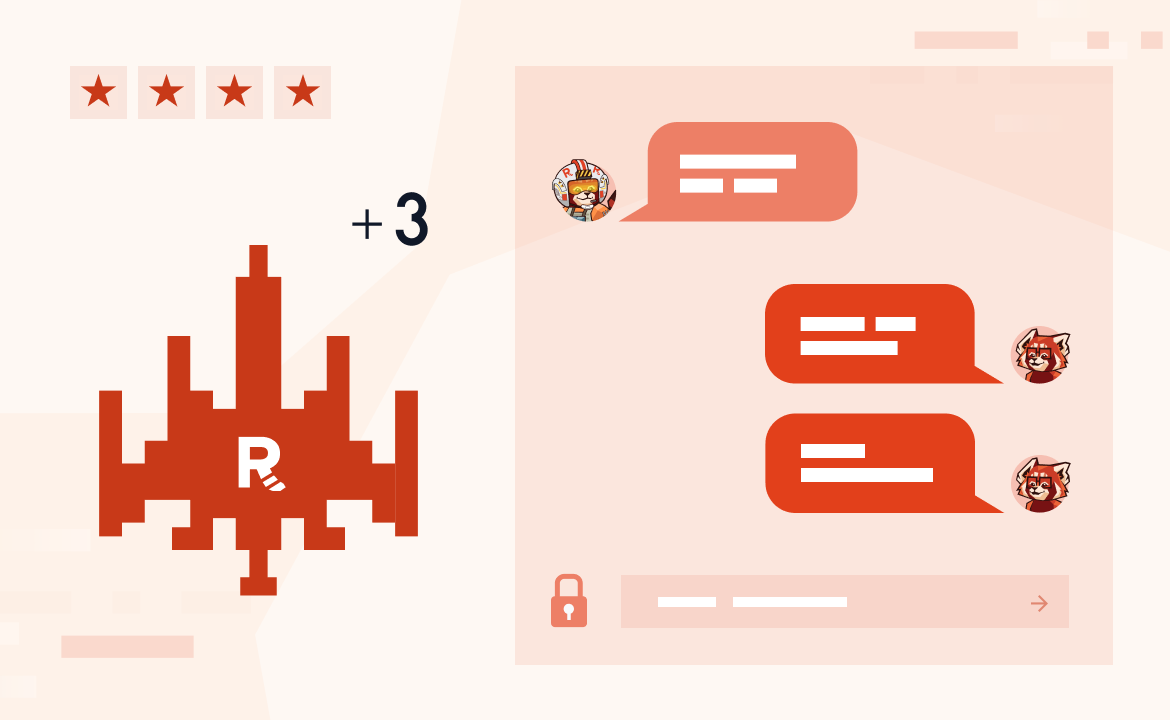
In gaming, real-time communication channels are crucial to the user experience. From moderation and conflict resolution to operations and providing top-notch customer support— getting real-time input to and from players is the best move.
This is the fifth post in our gaming series, and this one is all about how to integrate a scalable, reliable, low-latency chat application into your game. In this tutorial, we’ll use WebSockets, the Quarkus Java framework, and Redpanda as the message bus. As always, you can find all the code in this Redpanda repository on GitHub.
If you’re new to this series, check out the previous real-time data streaming use cases for gaming.
With that, let’s dive in.
Going beyond a trivial chat application
It can seem simple to build a real-time chat application and there are plenty of tools to get you rolling. But once you factor in the need for scalability, low latency, and reliability—suddenly it’s not all that straightforward anymore. For a chat app that players will actually want to use, it has to be:
Easily scalable: If you’re building what will become a highly successful gaming experience, your real-time chat application will need to quickly scale to support millions of concurrent users—without breaking anything in the process.
Low latency: A real-time chat app means keeping message latency down to mere milliseconds to ensure a seamless user experience. The chat app should also maintain a consistent latency SLA as it scales.
Safe and reliable: Players want to know their data is safe when interacting with support staff, so your chat channel should be end-to-end encrypted. Although the combination of secure, durable storage in real-time puts even more pressure on the app’s infrastructure.
For years, Apache Kafka® has been the go-to for real-time data applications. But it struggles to manage gigabytes of streamed real-time data without racking up a steep bill for operational expenses. This has led to a growing number of gaming companies realizing that their requirements have outgrown Kafka’s capabilities, and are now switching to Redpanda as a scalable, cost-effective solution for their real-time gaming data needs.
So, let’s get into the tutorial and show you how to build a real-time chat app—that can keep up with modern gaming requirements—using Redpanda.
Reference architecture for a scalable, real-time chat application
As with our real-time gaming monetization use case, we’ll be using the Quarkus Microservice for this use case. Here’s a quick diagram to illustrate what we’re going to build and how it all connects.

It’s available as a Maven multi-module project developed using the Quarkus Java framework, and has two modules: frontend and moderator. (You can find the source code in the GitHub folder 4-chat.)
Redpanda is at the center of this solution, acting as a scalable and reliable message bus. It secures scalable and low-latency message ingestion – even from millions of concurrent players. It also helps reduce end-to-end latency in communication.
Once written, Redpanda can distribute chat messages across multiple AZs/data centers for high availability and guaranteed partition ordering in message storing. If we use the playerID as the message key, messages from the same player will always be routed to the same partition and written according to their order of arrival.
1. Build the frontend module of your chat application
The frontend module mimics a web-based chat user interface (UI) where players and gaming companies communicate in real time. The chat UI is a simple HTML page that establishes a WebSocket connection with the built-in WebSocket server. It has UI elements to exchange real-time text messages between players and the support staff.
You can customize these elements and integrate them as a part of the game frontend. The source code for the UI is located in the Redpanda GitHub repo. The following Javascript code from the source code file establishes a WebSocket connection on page load:
$(document).ready(function() {
	$("#connect").click(connect);
	$("#send").click(sendMessage);
	$("#name").keypress(function(event){
    	if(event.keyCode == 13 || event.which == 13) {
        	connect();
    	}
	});
	$("#msg").keypress(function(event) {
    	if(event.keyCode == 13 || event.which == 13) {
        	sendMessage();
    	}
	});
	$("#chat").change(function() {
    	scrollToBottom();
	});
	$("#name").focus();
});
var connect = function() {
	if (! connected) {
    	var name = $("#name").val();
    	console.log("Val: " + name);
    	socket = new WebSocket("ws://" + location.host + "/chat/" + name);
    	socket.onopen = function() {
        	connected = true;
        	console.log("Connected to the web socket");
        	$("#send").attr("disabled", false);
        	$("#connect").attr("disabled", true);
        	$("#name").attr("disabled", true);
        	$("#msg").focus();
    	};
    	socket.onmessage = function(m) {
        	console.log("Got message: " + m.data);
        	$("#chat").append(m.data + "\n");
        	scrollToBottom();
    	};
	}
};
When a player sends a message via the UI, the following code writes it to the WebSocket channel:
var sendMessage = function() {
      	if (connected) {
          		var value = $(“#msg”).val();
          		console.log(“Sending “ + value);
          		socket.send(value);
          		$(“#msg”).val(“”);
} };
2. Bridge the real-time message flow with WebSocket
The WebSocket server now bridges the real-time message flow between the chat UI and Redpanda. It essentially establishes a persistent bi-directional communication channel with the chat UI. When a player joins the chat, the WebSocket server creates a dedicated WebSockets session and starts listening for incoming messages from the UI.
When it receives a message, the server publishes it to a designated topic (chats-out) in Redpanda. The server also subscribes to another Redpanda topic (chats-in) to receive responses and broadcasts them across all connected WebSocket channels. You can find the WebSocket server implementation code in the ChatSocket.java class, which looks like this:
package com.redpanda.gaming.chat.frontend;

import java.util.Map;
import java.util.concurrent.ConcurrentHashMap;

import javax.enterprise.context.ApplicationScoped;
import javax.websocket.OnClose;
import javax.websocket.OnError;
import javax.websocket.OnMessage;
import javax.websocket.OnOpen;
import javax.websocket.server.PathParam;
import javax.websocket.server.ServerEndpoint;
import javax.websocket.Session;
import org.eclipse.microprofile.reactive.messaging.Channel;
import org.eclipse.microprofile.reactive.messaging.Emitter;
import org.eclipse.microprofile.reactive.messaging.Incoming;

@ServerEndpoint(“/chat/{username}”)
@ApplicationScoped
public class ChatSocket {

Map<String, Session> sessions = new ConcurrentHashMap<>();

@Channel(“chats-out”)
Emitter<String> emitter;

@OnOpen
public void onOpen(Session session, @PathParam(“username”) String
username) {
	sessions.put(username, session);
  }

@OnClose
public void onClose(Session session, @PathParam(“username”) String username) {
	sessions.remove(username);
	broadcast(“User “ + username + “ left”);
  }

@OnError
	public void onError(Session session, @PathParam(“username”) String
username, Throwable throwable) {
	sessions.remove(username);
	broadcast(“User “ + username + “ left on error: “ + throwable);
  }

@OnMessage
public void onMessage(String message, @PathParam(“username”) String
username) {
	String decoratedMessage;
	if (message.equalsIgnoreCase(“_ready_”)) {
  		decoratedMessage = “User “ + username + “ joined”;
	} else {
  		decoratedMessage = “>> “ + username + “: “ + message;
	}
	emitter.send(decoratedMessage);
	System.out.println(“Sent to Redpanda : “ + decoratedMessage);
  }

@Incoming(“chats-in”)
public void onRedpandaMessage(String message) {
System.out.println(“Received from Redpanda: “ + message);
	broadcast(“>> “ + message);
  }

private void broadcast(String message) {
		sessions.values().forEach(s -> {
  			s.getAsyncRemote().sendObject(message, result ->  {
    				if (result.getException() != null) {
      				System.out.println(“Unable to send message: “ + result.
getException());
}
});
});
}

}
The Quarkus framework automatically configures connectivity with Redpanda by scanning the configuration properties provided in the Redpanda GitHub repo. Inside the onMessage() method, the Emitter instance publishes incoming messages to the chats-out Redpanda topic. The onRedpandaMessage() method subscribes to the chats-in topic for incoming messages. When it receives messages, it broadcasts them among connected WebSocket sessions.
3. Build the moderator module for your chat application
With the frontend set up, let’s add the moderator module. This is an event-driven microservice that consumes messages from the chats-out topic in Redpanda, applies your moderation rules, and sends them to the chats-in topic. These two topics will enable communication between players and the support staff.
We use this microservice to automatically enforce content moderation on chat messages. You can set up a profanity filter, block cheat codes, or automatically respond to certain words with a helpful private message. The service implementation is in the ChatModerator.java class.
package com.redpanda.gaming.chat.moderator;

import io.smallrye.reactive.messaging.annotations.Blocking;
import javax.enterprise.context.ApplicationScoped;
import org.eclipse.microprofile.reactive.messaging.Incoming;
import org.eclipse.microprofile.reactive.messaging.Outgoing;

@ApplicationScoped
public class ChatModerator {

  @Incoming("chats-out")
  @Outgoing("chats-in")
  @Blocking
  public String moderate(String message) throws InterruptedException {
	//You can write your moderation logic here. For example, check the message for profanity and mask those with *
	//Currently, this method returns the incoming message as it is.
	return message;
  }
}
Keep in mind that this example is just a reference implementation. Your mileage may vary depending on your moderation needs. However, this Microservice provides you with a good starting point.
Like the frontend module of our real-time chat application, the Quarkus framework automatically scans the application.properties file to configure connectivity with Redpanda.

4. Run your real-time chat application
You can run the solution components as regular Java applications. Make sure that you have JDK version 8 or later installed on your local machine. First, start Redpanda with Docker Compose by typing the following from the root level of the 4-chats folder.
docker compose up -dThis starts a single-node Redpanda cluster. Then you can start the frontend with the following command.
cd frontend
mvn quarkus:dev
Finally, start the moderator as well with this command.
cd moderator
mvn quarkus:dev
You should see that the two Redpanda chats-out and chats-in have been created. Now let’s log into the chat UI. You can access it by typing http://localhost:8080 in the browser, then join the chat by providing a username.
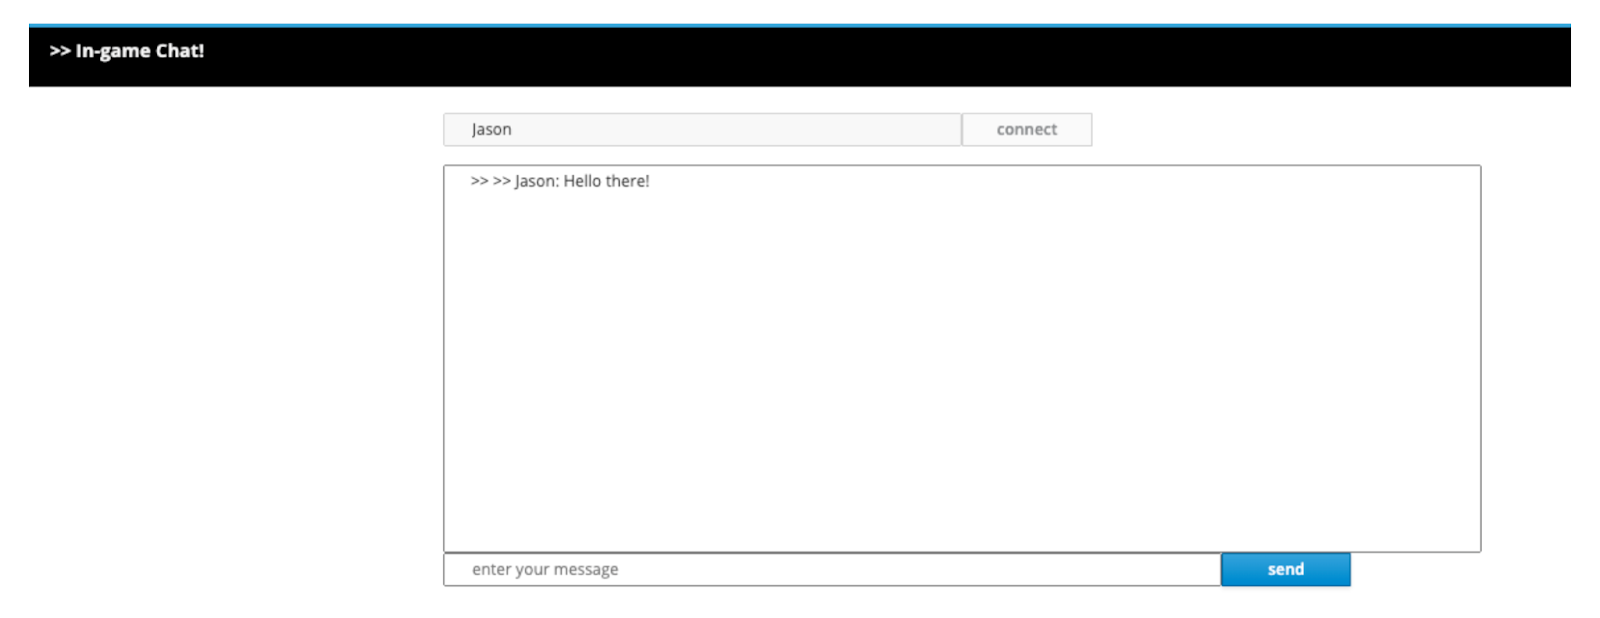
If you want to simulate the chat counterpart (the support staff at the gaming company), simply open another browser tab to chat from. The UI will update in real time as both parties exchange messages. And, just like that, you have real-time employee-to-player communication within your game!
Level up your real-time chat experiences with Redpanda
It’s not always easy to secure great user experiences with real-time games and data. But if you followed this use case, you now know how to set up a scalable, secure real-time communications channel for a gaming company. Go you!
You can always expand on this example with different filters and bring the game support staff closer to the players. You can also keep the ball rolling and check out our other use cases in the Redpanda Gaming repository on GitHub, or download our free report on how to turbocharge your games with Redpanda.
Keep an eye on this blog for the sixth and final part of this series, where we’ll show you how to build a super-fast player-matching system. In the meantime, join the Redpanda Community on Slack to discuss the details of your gaming use case. If you want to make it official and use Redpanda for your game development, contact us to get started.
Let's keep in touch
Subscribe and never miss another blog post, announcement, or community event. We hate spam and will never sell your contact information.


