What to consider when deploying a cluster in multiple availability zones
Welcome to another blog post in our ongoing series about high availability (HA) and disaster recovery (DR) with Redpanda. As a reminder, part one focuses on failure scenarios and fundamental concepts, such as partition leadership/rebalancing and rack awareness. Part two focuses on achieving the highest availability possible within a single-availability zone, using either Partition Placement Groups, Flexible Scale Sets, or Instance Placement Policies, depending on which cloud provider you use.
This third post will focus on considerations when deploying a cluster in multiple availability zones (known as multi-AZ). By configuring Redpanda to spread its replicas across multiple availability zones, we ensure that single points of failure are almost entirely eliminated. The only remaining failure mode is the total loss of an entire region.
We will discuss the pros and cons of this deployment architecture, and show you how you can deploy your next Redpanda cluster with multi-AZ.
What is multi-AZ?
In our first blog post on high availability deployment patterns, we defined an availability zone as,
“Data centers or data halls that have discrete failure domains (power, cooling, fire, network), that are served by high-bandwidth links with low latency (and typically are within a small number of miles of one another)”
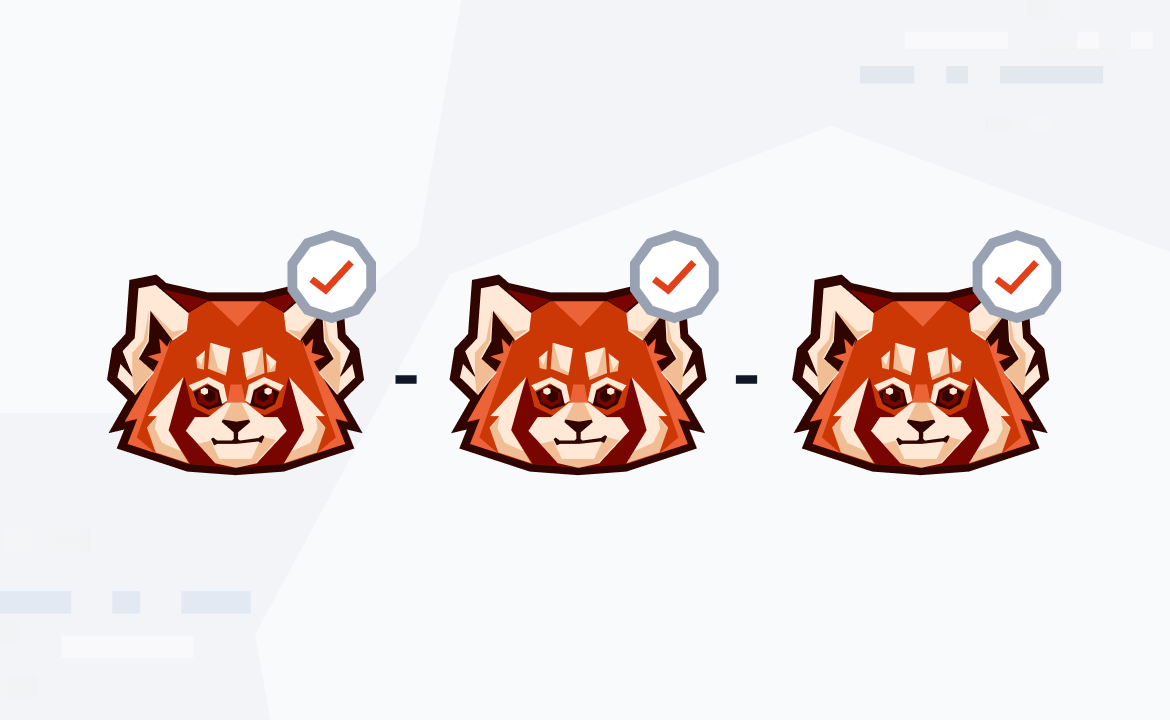
A multi-AZ deployment is one in which we deploy a single Redpanda cluster that has brokers distributed over multiple availability zones. The basis for this architecture is Redpanda’s rack awareness feature, in which each zone becomes a “rack”. This allows Redpanda to place replicas with respect to failure domains, resulting in a cluster that can survive a zone outage.
This is the basis on which we can achieve extreme availability.
What does “multiple availability zones” actually mean?
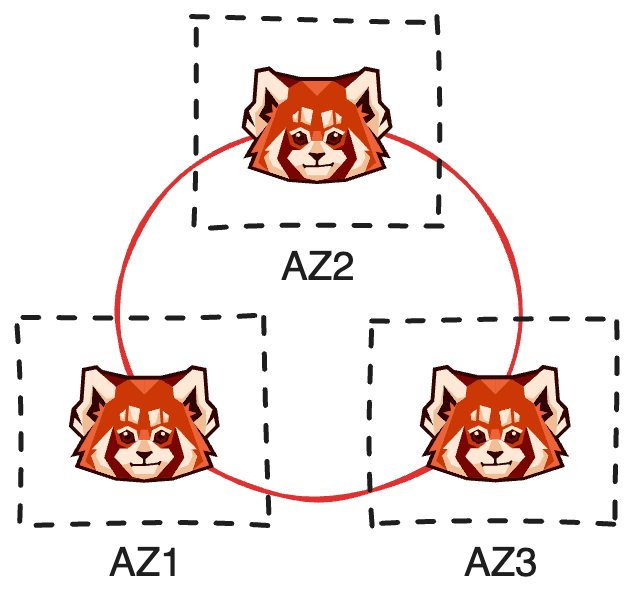
When we talk about multiple availability zones, we specifically mean three (or more!). The Raft consensus algorithm—the heart of Redpanda—requires an odd number of replicas, that way if disaster strikes and you lose a replica, there are still two more up and running. The remaining replicas can still form a majority in the leader election process.
Keep in mind that adding a zone doesn’t necessarily increase availability; ultimately it’s the replication factor of a given partition that matters. If all of your partitions use a replication factor of three, then adding an additional broker in a fourth zone doesn’t change much—it’s just that fewer partitions would be affected by an outage (since the workload is spread out more).
Why not two zones?
Deploying a cluster on two zones is problematic. Consider three brokers over the two zones:
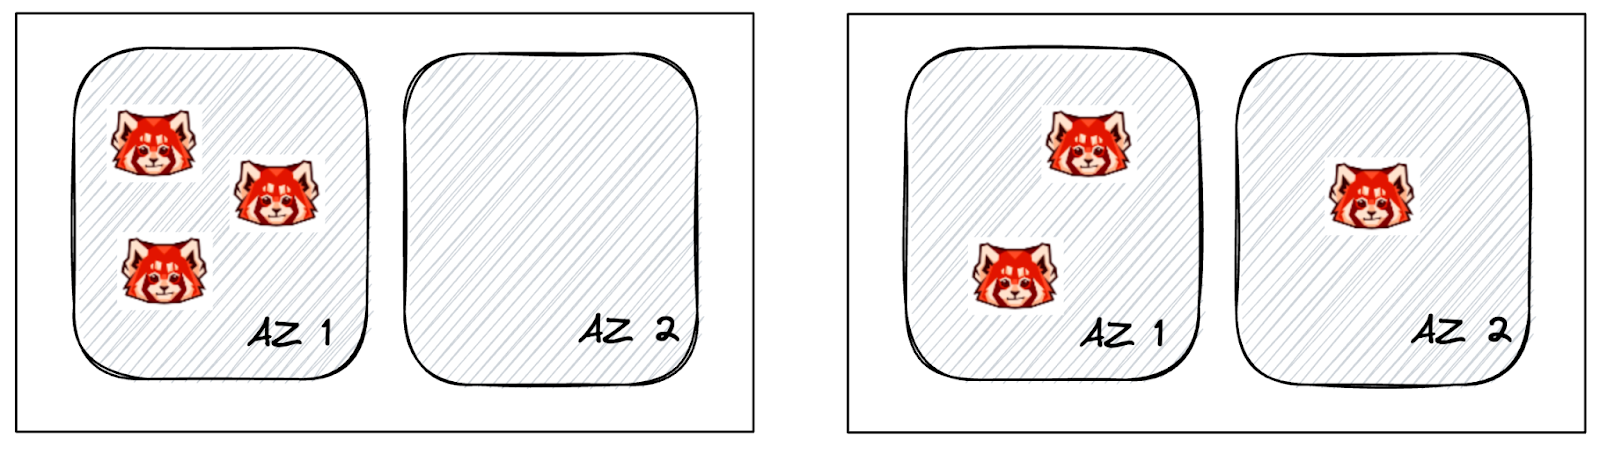
You either end up with all three brokers in a single zone or you end up with a pair of brokers in one zone (with a single broker in the other). Neither of these scenarios is good for availability since it’s possible to lose the majority of brokers with a single AZ failure.
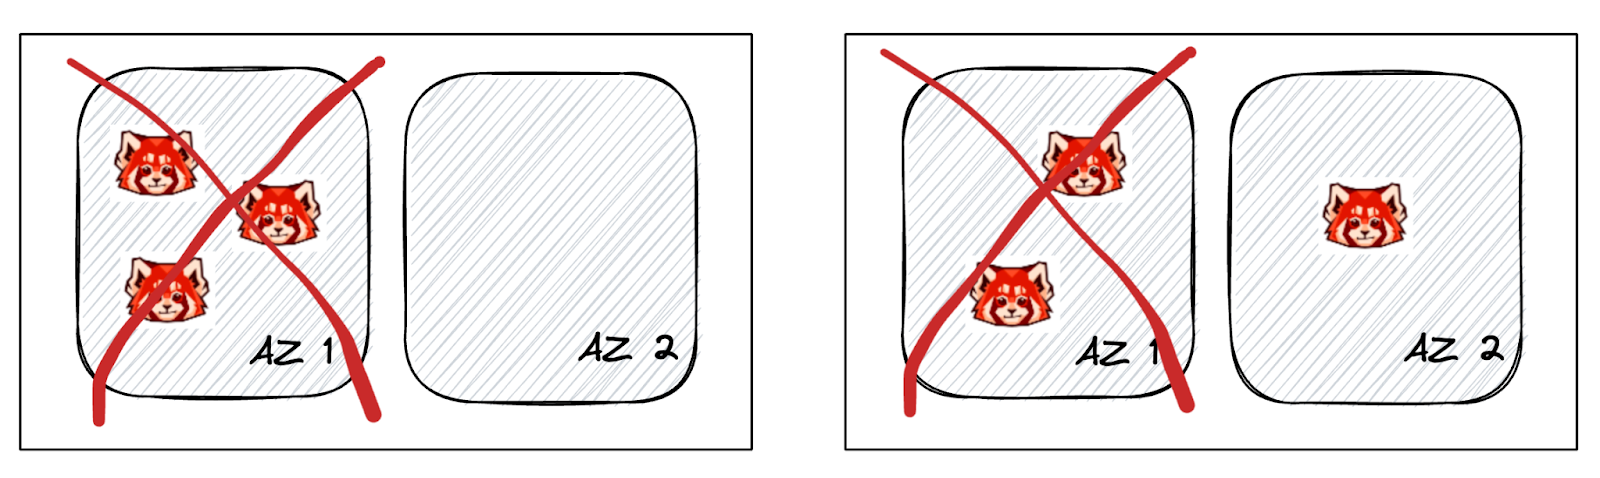
The remaining replica wouldn’t be able to form a majority, therefore it can never become a leader, resulting in a leaderless partition - a failure mode in which messages could no longer be written or read.
The pros and cons of a multi-AZ deployment
Back in our second post, where we explained how to set up a high-availability environment, we also covered the pros and cons of a high-availability deployment. As you might expect, the same considerations apply here. As a reminder, we stated the following:
“Whenever you move from a simple software deployment towards a fully geo-resilient and redundant architecture, there is an increase in cost, complexity, latency, and performance overhead. All of these need to be balanced against the benefits of increased availability and fault tolerance.”
Well said! The choice of a multi-AZ deployment is usually made because of a requirement to achieve extremely high availability, even at the expense of other considerations. In this case, deploying brokers into distinct availability zones increases the overall availability of the system, but pays for that by introducing additional message latency. Essentially, the brokers are further apart in terms of network distance, with additional routing hops in place. Furthermore, data sent between availability zones is often chargeable, resulting in higher cloud costs.
In terms of operational complexity, there’s very little difference between a single-AZ and a multi-AZ deployment. Looking again at the second blog post:
“Redpanda’s use of the Raft consensus algorithm is designed to ensure that much of the cost and complexity of the system isn't put back onto the user or operations engineer and a single slow node or link doesn’t impact that performance.”
Couldn’t agree more! Beyond Redpanda itself though, our deployment automation project means that creating a multi-AZ cluster is about as complex as customizing a single Terraform variable. There’s no special tuning or additional configuration needed—when multiple zones are defined, we ensure rack awareness is already in place and ready to run.
How to optimize Redpanda for multi-AZ
Follower fetching
Before follower fetching became available, consumers could only read messages via a partition leader, not a follower. This is fine when consumers are in the same zone as the cluster since there’s no reason to read from a follower when the leader is just as close in terms of network distance. However, with a multi-AZ deployment, that locality is no longer guaranteed— consumers may need to read from a partition whose leader is in a different availability zone.
With the release of Redpanda 23.2, consumers can now take advantage of follower fetching! To use this, consumers must simply advertise their preferred rack by configuring client.rack within their consumer configuration. This allows consumers to read data from their closest replica, rather than always reading from a (potentially non-local) partition leader, which reduces the non-local network traffic (and in the cloud, any cross-AZ network charges).
How to deploy a multi-AZ cluster
Once you’ve decided that a multi-AZ cluster is right for your requirements, you have a few options to deploy it.
Redpanda Cloud
Redpanda Cloud provides you with the simplest deployment option imaginable—simply select the “Multi AZ” option when deploying your Dedicated or BYOC cluster!

Self-hosted
Although Redpanda Cloud is by far the simplest deployment option, customers wishing to deploy a multi-AZ cluster using Terraform also have it easy. Redpanda provides an official deployment automation project on GitHub that contains Ansible and Terraform code to deploy a multi-AZ cluster on your cloud of choice in minutes.
To create a multi-AZ cluster, you must supply the availability zone information to Terraform. With that in place, Terraform will create your infrastructure in a multi-AZ layout and Ansible will deploy the cluster and configure it to use rack awareness.
Fully managed services—in your cloud or ours
Can't decide? Compare the benefits of dedicated vs. BYOC clusters.
Configuring Terraform
Within the deployment-automation project, locate the appropriate Terraform file for your cloud of choice and edit the availability_zones parameter.
azure/vars.tf:
variable "availability_zones" {
  description = "Availability Zones to deploy to"
  default     = [“1”, “2”, “3”]
  type        = list(string)
}aws/main.tf:
variable "availability_zone" {
 description = "The AWS AZ to deploy the infrastructure on"
 default     = ["us-west-2a", "us-west-2b", "us-west-2c"]
 type        = list(string)
}gcp/vars.tf:
variable "availability_zone" {
 description = "The zone where the cluster will be deployed [“a”, “b”, ...]"
 default     = ["a", "b", "c"]
 type        = list(string)
}
Configuring Terraform using the command line
Rather than configuring the availability zones within vars.tf, we can also supply the same configuration at the command line as follows:
$ terraform apply -var=availability_zone='["us-west-2a","us-west-2b","us-west-2c"]'Example: multi-AZ cluster deployment (self-managed)
In this example, we deploy a multi-AZ cluster into AWS, Azure, or GCP using the provided Terraform and Ansible capabilities and validate the rack configuration.
# Initialize a private key if you haven’t done so already:
ssh-keygen -f ~/.ssh/id_rsa

# Clone the deployment-automation repository:
git clone https://github.com/redpanda-data/deployment-automation

# Choose your cloud provider and initialize terraform
pushd deployment-automation/aws # choose one: aws|azure|gcp
terraform init

# Deploy the infrastructure (note: we assume you have cloud credentials available)
terraform apply -var=availability_zone='["us-west-2a","us-west-2b","us-west-2c"]'

# Verify that the racks have been correctly specified in the host.ini file:
popd
export HOSTS=$(find . -name hosts.ini)
head -4 $HOSTS

[redpanda]
34.102.108.41 ansible_user=adminpanda ansible_become=True private_ip=10.168.0.41 rack=us-west2-a
35.236.32.47 ansible_user=adminpanda ansible_become=True private_ip=10.168.0.39 rack=us-west2-b
35.236.29.38 ansible_user=adminpanda ansible_become=True private_ip=10.168.0.40 rack=us-west2-c

# Install Ansible Galaxy Roles
ansible-galaxy install -r ./requirements.yml

# Provision the cluster with Ansible
ansible-playbook ansible/provision-basic-cluster.yml -i $HOSTS

### Verify that Rack awareness is enabled

# SSH into a cluster node substituting the username and hostname from the values above
ssh -i ~/.ssh/id_rsa <username>@<hostname of redpanda node>

# Check rack awareness is enabled
rpk cluster config get enable_rack_awareness

true

# Check the brokers are assigned to distinct racks
rpk cluster status | grep RACK -A3

ID    HOST           PORT  RACK
0*    34.102.108.41  9092  us-west2-a
1     35.236.32.47   9092  us-west2-b
2     35.236.29.38   9092  us-west2-c
Example: multi-AZ cluster deployment with follower fetching enabled
This section expands on the above example and demonstrates follower fetching in action.
# SSH into a cluster node using appropriate credentials
ssh -i ~/.ssh/id_rsa <username>@<hostname of redpanda node>

# Create a topic with 1 partition and 3 replicas
rpk topic create foo -p1 -r3

TOPIC  STATUS
foo    OK

# Determine which broker is the leader
rpk topic describe foo -a | grep HIGH-WATERMARK -A1

PARTITION  LEADER  EPOCH  REPLICAS  LOG-START-OFFSET  HIGH-WATERMARK
0          0       1      [0 1 2]   0                 3

# Produce 1000 records using rpk
for i in {1..1000}; do echo $(cat /dev/urandom | head -c50 | base64); done | rpk topic produce foo

Produced to partition 0 at offset 0 with timestamp 1687508554559.
Produced to partition 0 at offset 1 with timestamp 1687508554574.
Produced to partition 0 at offset 2 with timestamp 1687508554593.
... 997 more lines ...

# Consume for three seconds, writing debug logs and ignoring regular output
timeout 3 rpk topic consume foo -v --rack us-west2-c 1>/dev/null 2>debug.log

# Filter the debug log to only show lines of interest
cat debug.log | grep -v ApiVersions | egrep 'opening|read'

08:25:14.974  DEBUG  opening connection to broker  {"addr": "10.168.0.41:9092", "broker": "seed 0"}
08:25:14.976  DEBUG  read Metadata v7  {"broker": "seed 0", "bytes_read": 236, "read_wait": "36.312µs", "time_to_read": "534.898µs", "err": null}
08:25:14.977  DEBUG  opening connection to broker  {"addr": "34.102.108.41:9092", "broker": "0"}
08:25:14.980  DEBUG  read ListOffsets v4  {"broker": "0", "bytes_read": 51, "read_wait": "16.19µs", "time_to_read": "1.090468ms", "err": null}
08:25:14.981  DEBUG  opening connection to broker  {"addr": "34.102.108.41:9092", "broker": "0"}
08:25:14.982  DEBUG  read Fetch v11  {"broker": "0", "bytes_read": 73, "read_wait": "17.705µs", "time_to_read": "858.613µs", "err": null}
08:25:14.982  DEBUG  opening connection to broker  {"addr": "35.236.29.38:9092", "broker": "2"}
08:25:14.989  DEBUG  read Fetch v11  {"broker": "2", "bytes_read": 130337, "read_wait": "54.712µs", "time_to_read": "4.466249ms", "err": null}
08:25:17.946  DEBUG  read Fetch v11  {"broker": "2", "bytes_read": 0, "read_wait": "41.144µs", "time_to_read": "2.955927224s", "err": "context canceled"}
08:25:17.947  DEBUG  read Fetch v11  {"broker": "0", "bytes_read": 22, "read_wait": "175.952µs", "time_to_read": "500.832µs", "err": null}
Here we created the topic and used rpk topic describe to determine that the leader is on broker 0 (in us-west2-a). After producing some records, we consume them again but include --rack (available in rpk version 23.2 onwards) in the command line—that’s all we need to perform follower fetching. By redirecting stderr to a file, we can then take a look at the details.
We see in the log that the consumer initially contacts the leader (broker 0) for metadata and listing offsets, but follows up by contacting the follower in us-west2-c (broker 2) for the data. Looking specifically at the Fetch operations, we see that 130,337 bytes were read from broker 2, which means that 99.9% of the data was read using follower fetching.
Without follower fetching enabled, a significant amount of data would be read from leaders in other availability zones, driving up networking costs. Subsequently, follower fetching is an important strategy for managing your infrastructure costs when high availability is non-negotiable.
Conclusion and next steps
In this third installment of the HA blog series, we explained how applications that require the highest levels of availability can be achieved on Redpanda. Deploying clusters using multiple availability zones is simple, ensuring that even if a zone fails, your application can keep on running—without downtime. Taking advantage of follower fetching is even easier: simply add the configuration property client.rack (or use --rack with rpk) and watch your cloud costs go down!
However, rock-solid availability doesn’t come for free (latency and costs both go up) and isn’t right for every use case. But for those mission-critical applications where availability is the highest priority, there truly is no substitute.
In the final installment in this series, we’ll take a look at multi-region, geographically distributed clusters. In the meantime, you can get started with the Redpanda Community Edition on GitHub or try Redpanda Cloud for free. Then go ahead and dive into the Redpanda Blog for examples, step-by-step tutorials, and real-world customer stories.
Lastly, if you have questions about this post or about Redpanda in general, ask away in the Redpanda Community on Slack.
Let's keep in touch
Subscribe and never miss another blog post, announcement, or community event. We hate spam and will never sell your contact information.


